Tuesday, May 15, 2012

TWD - Pecan Sticky Buns

Another Tuesday with Dorie recipe, my second time doing it gluten free.  Since the Hungarian Shortbread recipe we have decided to take our middle child off gluten along with me.  Actually he decided.  He was tired of the nightly stomach aches and since mine had gone away, along with my eczema, he thought it might be worth a try.  Low and behold, he hasn't had a stomach ache since.  Coincidence?  Maybe, but he isn't interested in having them back so he is keeping the gluten out of his diet. 

When it was just me I could easily say, 'Oh I'll make this one with wheat flour, it's only me that can't partake', but now I must make the effort to bake things that he can try as well, it seems cruel to bake something for everyone but him and I couldn't do that to him.  I have a LOT to learn when it comes to baking gluten free though!!

So after having a quick look at this weeks recipe, I was, uh to put it lightly.....terrified!  Not because of all of the steps and the time commitment, but because I knew it would be a challenge to make something that relies so heavily on the glutenous elasticity of wheat flour without wheat flour.  So I put it off, and put it off.  Put it off some more.  Finally Monday came around, the day before THE Tuesday :/  I still hadn't tried them.  I decided to get started and try the sponge and see if I even got anywhere with the first step.   It didn't look much like the picture but it resembled it 'slightly' so I went with it. 

The rising seemed to take longer and of course it didn't rise as much as a beautiful pillowy yeasty wheat dough would.  I wasn't quite sure how it was all going to turn out, but I kept going.  I followed the recipe pretty closely, making adjustments if my dough seemed to need me to.  I added more flour than called for, because the dough was so sticky and difficult to work with. 

I got up early this morning and pulled the dough out of the fridge, rolled it out. 

Quick break here for a plug for the JosephJoseph rolling pin.  I've had it for about a month but used it today for the first time.  I am not sure how I survived in my kitchen this long without it!!  It's amazing!! 

Everything was going fine, it was a bit stickier than I thought it should be but figured that was due to the flour.  I opted to leave off the pecans as the hubs and I are the only ones that would eat them.  I popped the dough into the freezer and then read on.  I have to admit, when it comes to reading recipes I must have cookbook ADD.  I rarely ever read every step (I know, that is a big no no) until I am in the middle of cooking.  That is when I usually realise I am missing something really important or have completely botched something.  This time however it was when I read that each pan was supposed to have an entire stick of butter spread on it.  Some expletives may or may have not left my mouth at that particular moment.   I was in shock at the sheer amount of butter, especially since it was essentially just going to be soaking into and around the buns.  I however trusted it and followed the instructions, but was quietly terrified. 

Since my dough had been having such a hard time rising I decided to pop it in the oven on the bread proof setting to give it some extra help.  When I came back to them they had risen quite nicely, well more than I had expected, still nothing like regular ones would, I was pleased though and went ahead and preheated the oven. 


The second log I added raisins


When they were done, I turned them out as suggested in the book and was not sure exactly why they looked the way they did, but I suspect it had to do with the lack of gluten. 


They certainly aren't the prettiest cinnamon/sticky buns :/ but they still had a little bit of the flakiness from layering them with butter.  You can sort of see the layers in the photo below.


As for the taste, it was entirely too much butter for me.  I couldn't taste much else.  I would have preferred them to be a little sweeter, maybe with more cinnamon sugar and much less buttery.  My family liked them, my gluten free kid really liked the ones without the raisins (he doesn't love raisins in baked goods, that was more for me ;) ).  

I doubt I will make them again, I like to make cinnamon buns for my family but it is much simpler to make them with a regular old sweet yeast bread dough.  I am now on a mission to find a good go to gluten free recipe.  Wish me luck.

If you would like the recipe you can find it on the blog posts of this weeks hosts Lynn of Eat Drink Man Woman Dogs Cat and Nicole of Cookies on Friday .  The recipe can also be found in Dorie Greenspan's book Baking with Julia.  Of course to see how everyone who participated this week did, go here to see all of the awesome variations of the recipe. 

Tuesday, May 1, 2012

TWD - Hungarian Shortbread

I was actually really excited for this months first recipe, Hungarian Shortbread.  Why?  Well I'm an Irish girl and I loooove shortbread ;)  Ok so I am not actually Irish, but I'm Australian and that is almost the same thing! :) 

Now when my daughter saw that it had Rhubarb Jam she was really excited, she loves her great grandmother's rhubarb and strawberry jam and was looking forward to trying this. 

I decided to make the jam the day before I made the shortbread, just to limit the time I needed to spend in the kitchen.  With a toddler helper it can be a bit much to complete an entire recipe all at once :)  We found some fresh rhubarb at Whole Foods for the jam and with the recipe being super simple I was able to get that made in no time.

Here is the finished jam which I popped in the fridge overnight.  It tasted really good by the way.  Not that I sampled it or anything ;) 


No since I am avoiding wheat for a few months I was a bit stressed on how to make this gluten free, on a trip to whole foods I found this flour


It's a bit pricey but I wasn't confident enough to make my own blend of flours just yet, I will get there.  I have bookmarked a gluten free shortbread recipe to make another time.  It looks divine and I am looking forward to making my own blend of gluten free flour.  This packaged flour worked really well though and I am confident that I can use it in the future when converting a recipe to be gluten free. 

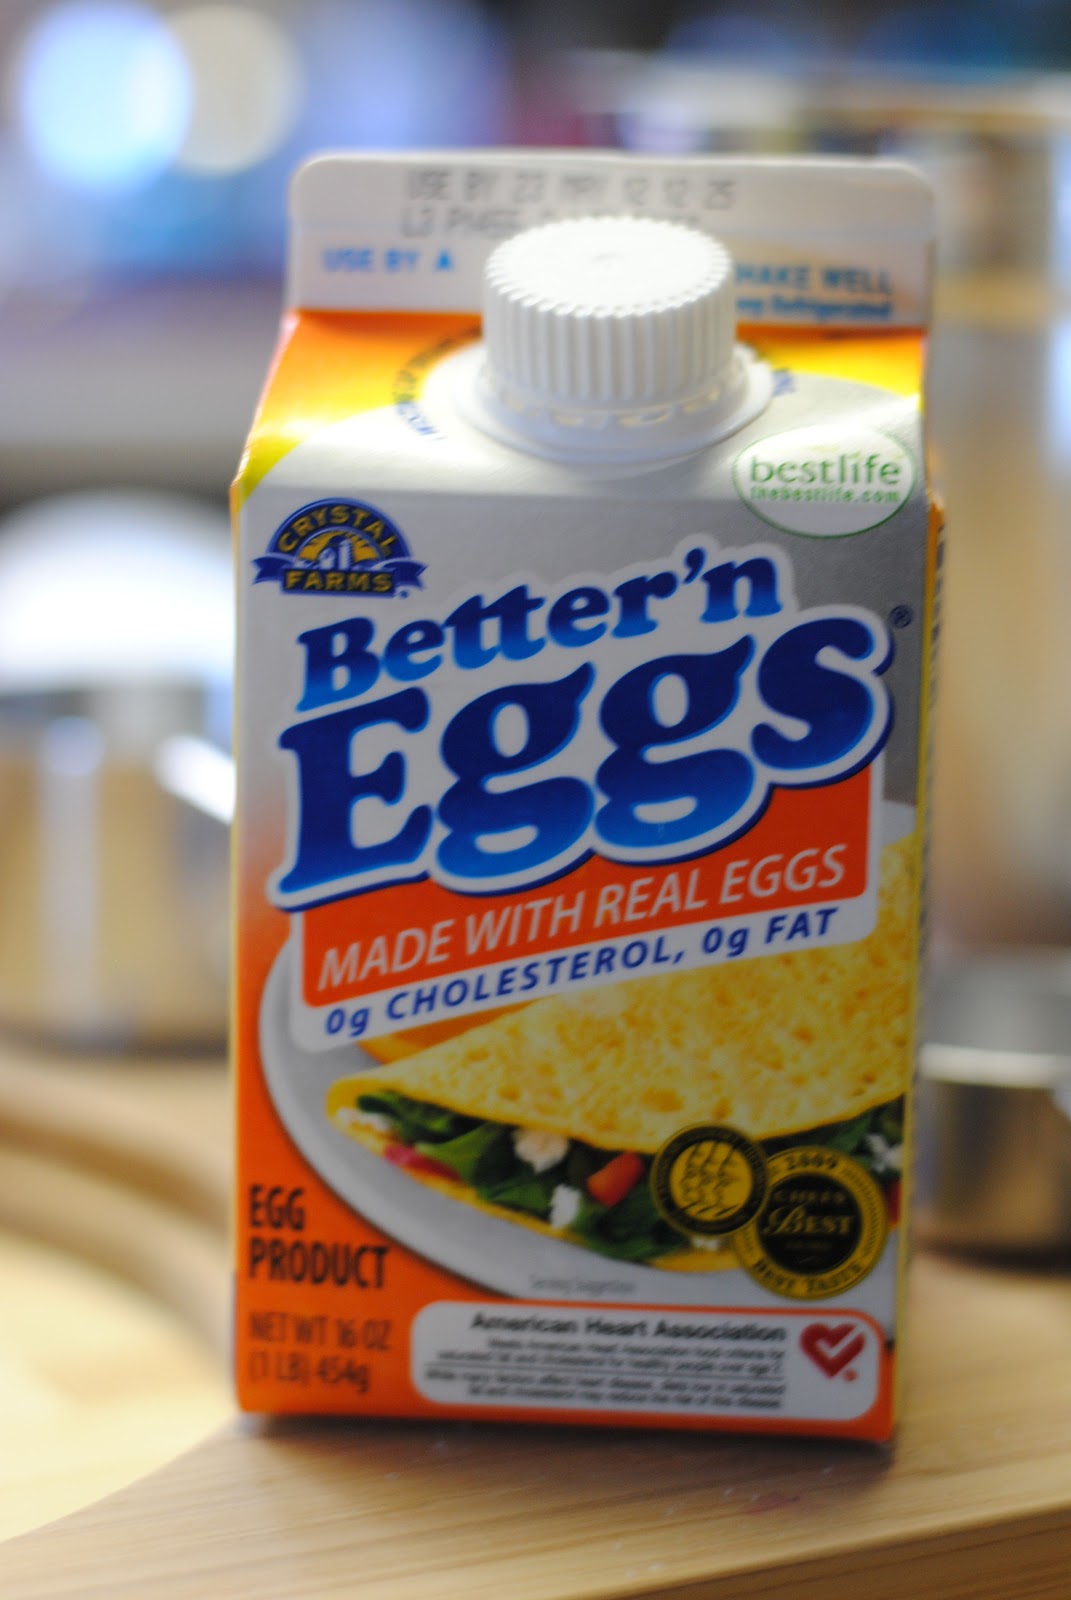
I am also avoiding egg yolks, so I was going to go all out and use this


but I'm a wimp and chickened out and used this instead


since I am only avoiding egg yolks and this is made with just whites.  I will get there ;)

The dough came together nice and quickly, the hardest part was grating the dough into the baking dish.  It started to get soft which made it challenging but it wasn't too bad.  That would be my only hesitation on remaking the dough, we liked everything about it but I didn't love grating the dough.  That is my only complaint though, it really was delicious and would really compliment a cup of tea nicely!


I hope you enjoyed it as much as my family did.  If you don't own Baking with Julia yet, go and buy it!  This recipe is on page 327-8 and is definitely worth a try.  If you would like the recipe please visit our hosts for this week Cher of  The not so exciting adventures of a dabbler... and Lynette of 1smallkitchen or if you would like to see how everyone else did on this baking challenge visit here.

Thanks for visiting!  Enjoy.


Thursday, April 19, 2012

Lettuce wraps and a bump in the road


In an effort to lead a less chaotic lifestyle the hubs and I tried to get organised this week.  We have five offspring, three of which are definitely old enough to help out around the house.  They have/had designated chores that we needed them to do daily, to keep the family functioning (we were very LOW functioning so it was basic stuff).  However, there was not really a system in place and it often ended up being 10 or 11 at night when they finally got around to doing some of these things.  The hubs and I are also guilty of procrastinating, letting things slide and putting things off more often than we should.  I'm pretty sure it's a genetic disorder we have passed down to our kids :)

This last weekend we decided we were done with the chaos (at least temporarily, this isn't the first time we have felt like this) and we made a plan to get it under control.  We divided up the house amongst the five older family members (3 big kids and mum and dad) and tidied up.  Then the hubs pulled out my binder of 'go to' recipes and had the three older kids each choose one meal for dinner, this covered three nights so we asked them between them to try and pick two more.  This was much more effective then asking them an hour before dinner what they would like.  It seems at that time they never have an answer, well except for pizza, burgers or chinese take out :/  Which are certainly valid answers, but not entirely budget friendly when you are feeding 7 people! 

The hubs and I are on a strict Jared (subway) diet.  Trying to lose weight before our first vacation in over 4 years that is fast approaching!!  So while we have a meal plan all taken care of, the hubs is driving to Subway twice a day to get us 'diet' food.

The kids chose the following meals for this week's dinners

Monday:  Asian chicken (how's that for a non descriptive name)
Tuesday:  BBQ Beef Sandwiches
Wednesday: Sweet & Sour Chicken
Thursday:  Lettuce wraps adapted from The Pioneer Woman
Friday: Burgundy Beef over egg noodles

Even though the hubs and I have been strictly sticking to our Subway diet, I have sampled the food I was preparing, quality control is awfully important to me ;)  That was brought to a screeching halt today.  I never tried the lettuce wraps pictured below which was this evenings dinner.  The kids said it was good and gobbled up multiple helpings so I will take their word for it.


Today I went back for a follow up visit to my Allergist.  I haven't felt well, pretty much ever since I can remember.  I have suffered from eczema all of my life and mild stomach discomfort.  The symptoms have been getting worse as I get older and right now my eczema is extremely bad (for me) and getting worse.  I was/am feeling run down, generally feeling unwell, itchy, achey and have had stomach aches almost daily.  It got to the point that it got really old and I wanted answers.  Now that I have some I am not sure I still want them (jk.....sort of).  Food ALLERGY testing all came back negative.  Not a big surprise, nothing I eat makes me react instantly.  The issue I am having is a delayed reaction and the above symptoms I am experiencing are indicative of a food intolerance. 

I suspected wheat and egg yolk and I was correct, they both came back positive, but gluten (which I also suspected) came back negative.  I didn't suspect garlic and almonds, but they also came back as culprits.  What's the verdict?  I am to avoid wheat, egg yolk, garlic and almonds for 3 months and then have my blood drawn again to see if the numbers go down.   The next three months are going to be challenging.  Thankfully Subway has gluten free rolls now and according to the hubs (who is tasked with getting our food everyday) they take it quite seriously when making a gluten free sandwich.  They asked him if he was ordering gluten free because of a food allergy, when he answered it was for a food intolerance they wiped everything down, changed gloves and utensils and then pulled out the gluten free roll.  Good for you Subway!

So moving forward for the next three months, I will try to bake wheat free/egg yolk free treats.  This might prove to be interesting but I am up for the challenge.  I CAN DO THIS!  Right?  I wish almonds weren't a problem because almond meal makes a great flour substitute in some baked goods like cookies and tarts.  I'll figure it out, I have already been looking at ways to get through the next TWD challenge, Hungarian Shortbread!  Yikes!  I have some ideas though, no procrastinating on this one, I am making my shopping list tonight so I can try it well before May 8th :)  Wish me luck!


Tuesday, April 17, 2012

TWD ~ Lemon Loaf Cake

The second recipe for April was Lemon Loaf Cake, you can find it on pages 252-253 in Baking with Julia by Dorie Greenspan.  If you would like the recipe for the cake go and visit this week's hosts Truc of Treats and Michelle of The Beauty of Life.  Even more fun, if you want to see how everybody did go here and check out the links to each participant's blog!  I love seeing how differently everyone makes the same recipe, I'm sure you will too :)

First things first, I prepared the loaf pan and gathered all of the ingredients.


Now the instructions were really simple and I probably didn't need to use my mixer, but I just upgraded my old mixer for a new one and I had to break it in.  So perhaps it was overkill and it may be responsible for the heavyness of my loaf cake by overmixing it.  I'm not sure, but I'm ok with it because I got to play with my new kitchen toy! 


After mixing all of the ingredients together I put it in the loaf pan and let the oven do it's thing for about an hour.  Here it is after removing it from the pan.  Looks good!


After reading the reviews of the recipe on the TWD site I saw that fellow baker's thought that it lacked the zing that you would expect a lemon cake to have.  So I made Meyer Lemon Curd to compliment it and add that additional lemon flavour I thought it might need.  I also decided to glaze it. I made a simple glaze using the juice from the lemon's that I took the zest from for the recipe.  It made a really nice bright sweet addition to the crust of the lemon loaf.

Simple Lemon Glaze
3/4 cup fresh squeezed lemon juice
3 cups powdered sugar
2T butter

I served it with the lemon curd on top and the fam gobbled it up.  The hubs and I both agreed that it was a bit too dry for our taste and the lemon flavour was barely there, but that didn't stop us from each eating two pieces ;)  We really adore the lemon curd, so even if I never make the cake again it did give me the inspiration to make lemon curd and I will definitely make that again!


Friday, April 13, 2012

Meyer Lemon Curd

Next week's TWD is Lemon Loaf Cake.  After reading some of the comments other bakers wrote about the loaf and it's flavour I decided that maybe I needed to kick it up a notch, flavourwise.  So I scoured my favourite baking books and found a recipe for Meyer Lemon Curd from Joy the Baker Cookbook.  This seemed like the perfect recipe to compliment the upcoming recipe for TWD.  I sent the hubs to Whole Foods to buy some Meyer Lemons and I got to cooking. 


Meyer lemons are thought to be a cross between lemons and mandarins, they are sweeter than lemons which makes them perfect for baking with in lemon desserts.  They have a lovely orange colour and smell delicious! 


This recipe was really quick to pull together, which is my favourite kind of recipe and it came out wonderfully. 

I have not yet figured out how to whisk/stir/pour while simultaneously taking pictures so I don't have a step by step photo progression to share.  Perhaps I need to invest in a tripod?  Anyway, trust me in that it is simple and the results are delicious!


Meyer Lemon Curd
makes about 1 cup

1/2 cup fresh Meyer lemon juice (from 2-3 lemons)
1/3 cup granulated sugar
2 large eggs
2 large egg yolks
Big pinch of salt
1/2 cup (1 stick) unsalted butter

Place a fine mesh strainer over a medium bowl.  Set aside for later.

In a medium, heavy-bottomed saucepan, whisk together lemon juice, sugar, eggs, yolk, and salt over medium-low heat.  Whisk and heat until egg yolks have thickened the mixture.  The mixture will go from smelling like citrus to smelling directly like lemon curd.

When thickened and fragrant, immediately remove from heat, and whisk in the butter.  Use a spatula to pour the warm curd into the strainer fit over the bowl.  Use a spatula to move the curd through the strainer, leaving any cooked egg bits in the strainer.  Pour strained curd into a small, airtight jar and refrigerate until chilled.  Serve over biscuits or toast.

Meyer Lemon Curd will last, in an airtight container, in the refrigerator for up to 4 days.

If you don't own Joy the baker cookbook, I highly recommend investing in it.  It is a fun baking book with a different spin on some typical and not so typical dishes.  I love her creativity and can't wait to try more of her recipes!

Enjoy!


Monday, April 9, 2012

Colouring Easter eggs

I always have the best intentions to decorate eggs with the kids before Easter Sunday.   However, for some reason we always end up doing them ON Easter Sunday.  I wish I was more organised and less of a procrastinator but I am a work.in.progress. 

I took inspiration from different blogs I follow. Surprise! :)  At Artful Parent she demonstrated how to use hole reinforcement stickers to create designs.  At Crap I've Made she used rubber cement to create a design on her eggs.  We used both of these methods, I had a 14yr old, 10yr old, 5yr old (with help from 15yr old) and 2yr old decorating eggs.  As you can imagine I was a little distracted and only took one process shot of dying the eggs! 

Lady S used a mini whisk to hold her eggs in the dye.  I found this to be much easier than her using a spoon because the temptation to stir and splash dye all over the place is strong with this one!  My 15 year old said she saw this somewhere online and suggested I try it, I am glad she did.  It worked really well.  When removing a couple of her eggs some of the dye scratched off the side but she didn't notice, she just wanted to stick stickers on and dip the eggs in and out of the dye.  If you think my child doesn't own clothing, you are wrong.  She owns lots and lots of beautiful clothes, keeping them on her is a wholenutherstory :/


When I went to the office supply area of the store (to get the hole reinforcement stickers) I saw some other stickers that I thought we could use.  So I bought stars and polka dots as well as a bag of rubber bands for wrapping around the eggs before dying. 

What I found really interesting about Artful Parent's eggs is that she used brown eggs.  I NEVER dye brown eggs and didn't this year but I am definitely going to give that a try in the future!  My colours on my eggs were not as rich as either bloggers.  I am determined to get my eggs as bright and perfectly dyed as they were at both Artful Parent and Crap I've Made! 

Below is a picture of some of the eggs we dyed.  I will add more if I get a chance to photograph them before the kids eat them :)  The hole reinforcement stickers were challenging to get off and some left a sticky residue on the eggs.  The stars were easy to get off and sometimes peeled up at the edges or came off in the dye, so it was difficult to get a perfect star.  The polka dot stickers were easy to get off and stuck well to the eggs to make cute polka dot eggs.  They were my favourite design.  The rubber cement was a bit tricky at first but I got the hang of it.  I like how the eggs looked with the rubber cement design (both the pink and blue eggs pictured below used that method).  All in all the polka dot was my favourite though. 


Saturday, April 7, 2012

Hard baked eggs

I was very skeptical of this method of cooking eggs when I first saw it on Pinterest.  The thing is that I dislike boiling eggs enough that I was willing to try anything!  I almost always get that grey ring around the yolk and the stress of not knowing until you open it up was too much ;)  Like I said I was skeptical, so I decided to just cook four eggs at first.  I was so surprised when I sliced the egg and saw that is was cooked PERFECTLY!  I was absolutely shocked, but also happy because this meant that I did not need to boil eggs to get hard boiled eggs anymore!  This makes Easter so much easier for me as I usually have to boil at least 2 dozen eggs for the kids to colour.  

So today I baked 24 eggs in preparation of egg dying with the kids, I followed the directions I found here .  I set my oven to 325 degrees F as my oven tends to run slightly hot and the original instructions said to preheat your oven to 325-350.   I put 24 eggs in a mini muffin pan, popped them in the preheated oven and set the timer for 30 mins. 

Here are the eggs ready to go in the oven


While they were cooking I prepared an ice bath for them


I also made sure I had a place to put the muffin pan (to protect my countertop) and rubber tongs are for transferring the eggs to the ice bath.  Any tongs would work but the rubber adds a bit more protection from slipping.


See the brown spots?  These wash right off in the ice bath.


Transfer the eggs as fast as you can to the ice bath to stop the cooking process


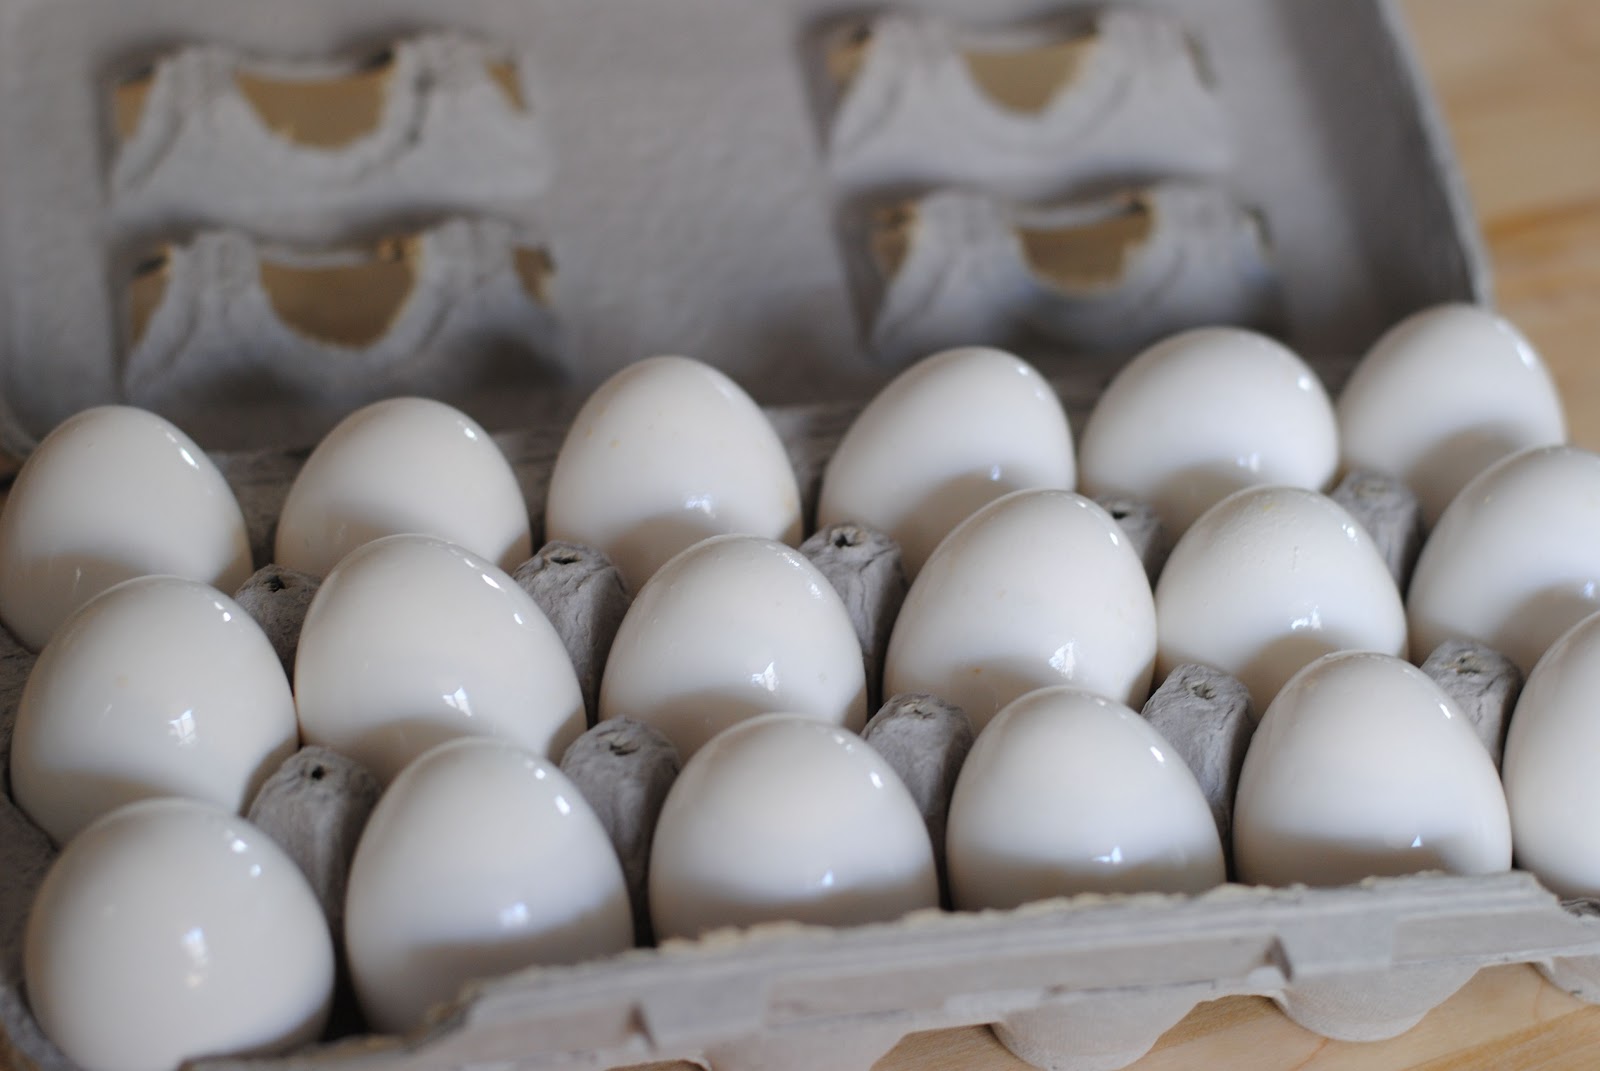
After sitting in the ice bath for about 10 mins I removed them and placed them into the egg carton.  Notice this only holds 18 eggs.   We might have eaten 6 before I even got them into the fridge :)


I have noticed this on some of the eggs but not all.  A brown spot where I suspect it was touching the muffin pan while cooking.  They don't taste any different and I am trying to think of ways to avoid this.  I wonder if silicon muffin cups might help protect them from getting these spots?  It doesn't bother me enough to go back to boiling them.  Another thing I have noticed is that I have not had a single cracked shell!  When I boil eggs I always have at least one (usually more) eggshells crack.  Which is really frustrating when dying, unless you want this effect .


The moment of truth.  I sliced the first egg right down the middle.  I think I could have pulled them out a couple of minutes earlier but they are pretty darn good if I say so myself! :) 


So a basic run down of how to do this.
1. Preheat oven to 325 - 350 degrees F
2. Place eggs in mini muffin pan
3. Place eggs in oven
4. Bake for 30 mins
5. Remove and place immediately in ice bath for about 10 minutes
6.  Peel and enjoy, or refrigerate

Enjoy :)

I am hoping to show pictures of our eggs dyed, we are going to try this method this year and hopefully it turns out!